How Often Should I Re-Caulk My Windows in Toronto and the GTA?
If you’ve noticed a draft creeping in near your windows lately, or you’ve spotted a bead of caulking that’s cracked, peeling, or gone crumbly, you’re probably wondering whether it’s time to redo it, and if so, how often this is actually supposed to happen. It’s a reasonable question, because unlike a roof replacement or a furnace service, caulking doesn’t come with a clearly marked expiration date or a reminder sticker.
The honest answer is that it depends on a few specific factors, but there is a general timeline you can plan around. If your caulking is already showing clear signs of failure, our weatherproofing services cover full re-caulking and sealing for windows and doors throughout the home. But before you book anything, let’s walk through exactly how long caulking typically lasts, what shortens its lifespan, and how to tell when it’s actually time for a redo.
1. The General Rule: Every 5 to 10 Years
For most standard exterior window caulking, the typical lifespan falls somewhere between 5 and 10 years, depending on the type of caulk used, the direction the window faces, and how much temperature and moisture exposure it deals with over that time.
That’s a wide range, and there’s a reason for it. A window on a shaded, north-facing wall will hold its caulking far longer than one that gets blasted with direct afternoon sun and swings through Toronto’s full seasonal temperature range every year. Lower-quality builder-grade caulk, often used during original construction to keep costs down, also tends to fail closer to the 5-year mark, while premium silicone or hybrid polymer sealants can often stretch past the 10-year range with proper application.
Rather than treating this as a fixed schedule, it’s more useful to think of it as a window to start checking closely, with a full inspection making sense once your home’s caulking passes the 5-year mark.
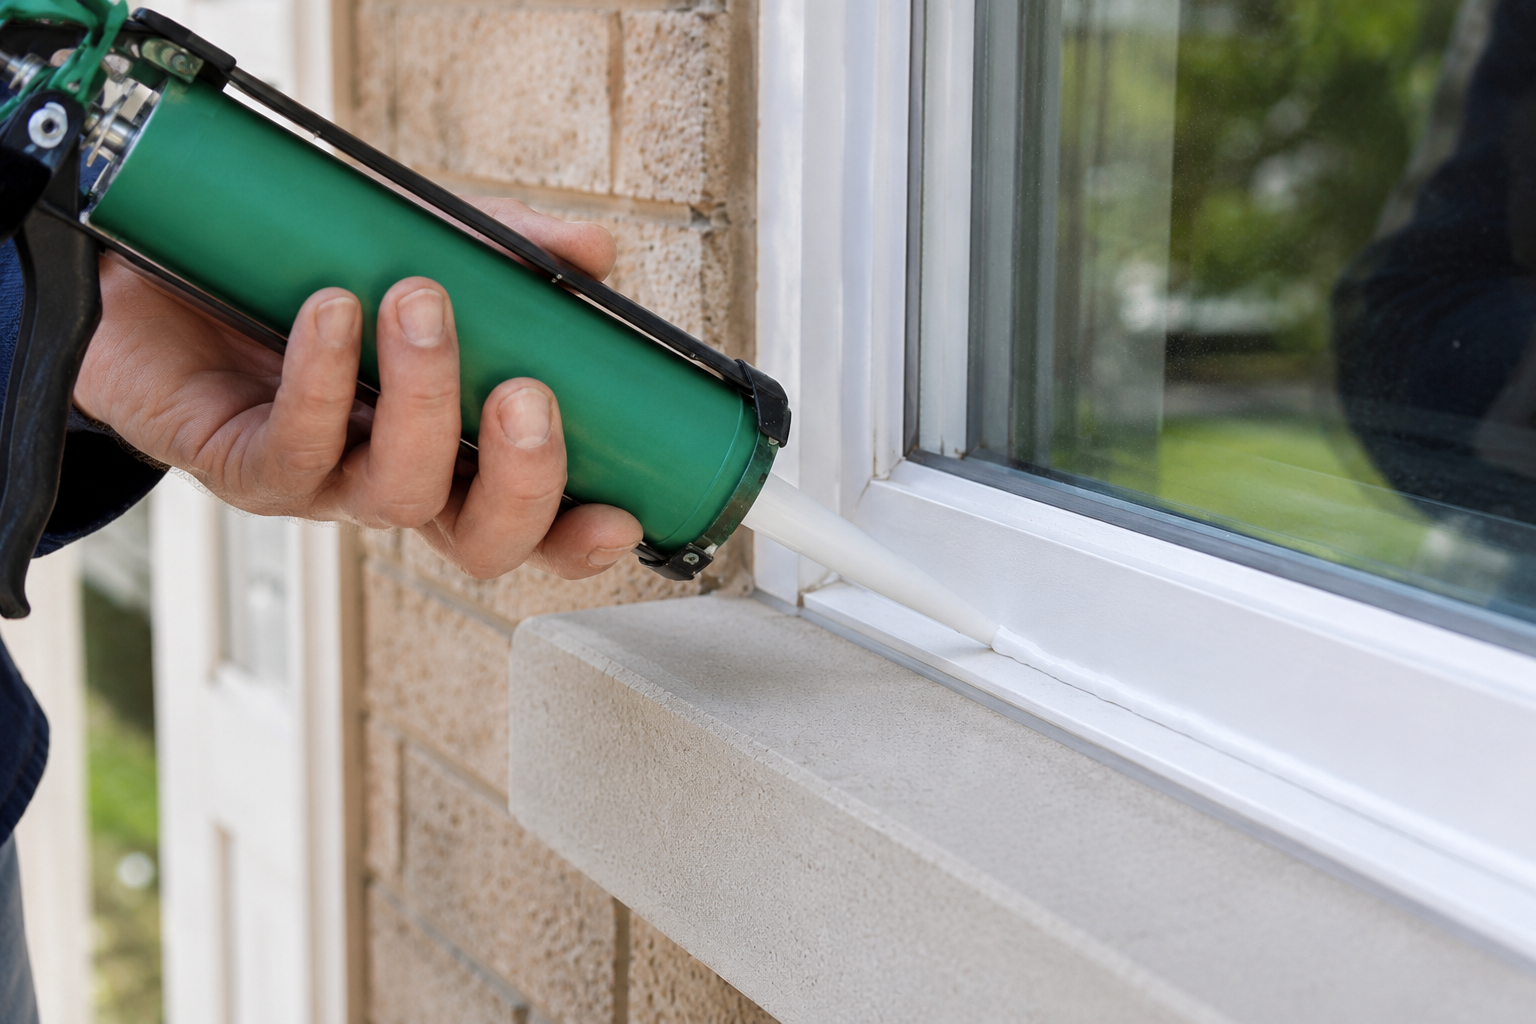
2. Why Our Climate Speeds Up the Timeline
This is the part of the conversation that matters more here than it would in a milder climate. Caulking’s job is to remain flexible enough to expand and contract along with the building materials around it, without cracking or pulling away.
In Toronto and the GTA, exterior caulking deals with an unusually wide temperature swing over the course of a year, from well below freezing in January to 30°C-plus heat in the middle of summer. Every one of those seasonal transitions puts stress on the caulking as the window frame, the surrounding trim, and the caulk itself all expand and contract at slightly different rates.
Lower-quality acrylic caulks, in particular, lose flexibility relatively quickly under this kind of repeated stress. Once caulk loses its elasticity, it stops moving with the building and instead cracks, which is usually the first visible sign that a re-caulking job is overdue.
3. Signs Your Caulking Needs to Be Redone
You don’t necessarily need to wait for a specific year count to roll around. A visual inspection will usually tell you everything you need to know. Here’s what to look for:
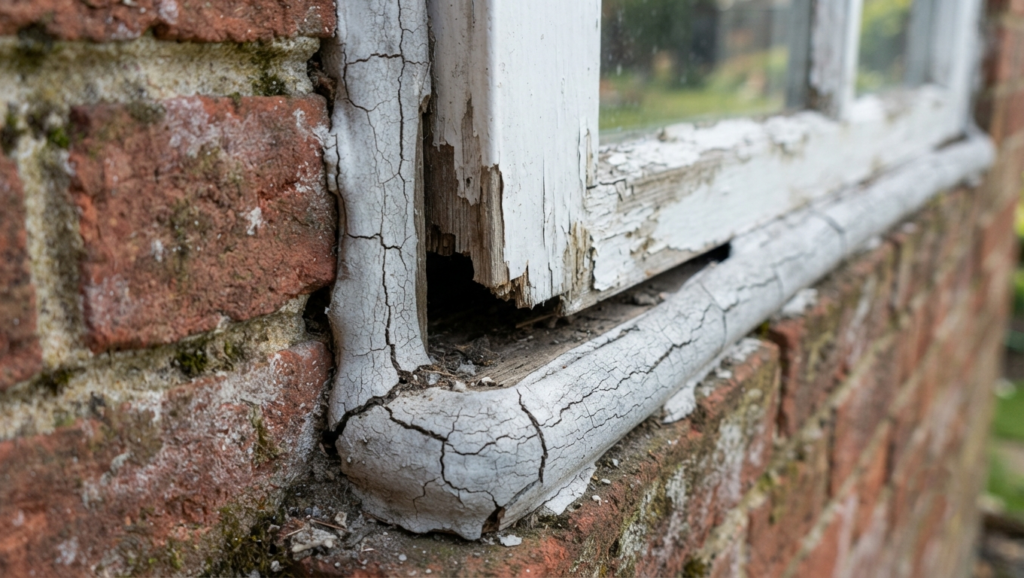
Visible cracking or splitting: Even a thin crack running along a bead of caulking means it’s no longer providing a continuous seal.
Gaps or pulling away from the surface: If you can see a sliver of daylight, or slide a piece of paper into a gap between the caulk and the frame, air and moisture are getting through.
Chalky or crumbly texture: Older caulk often becomes brittle and starts flaking off in small pieces when touched. This is a clear sign the material has broken down.
Discoloration or mildew growth: Caulking that’s turned grey, yellowed, or developed dark spots has likely absorbed moisture, which is often an early indicator of a failing seal.
A noticeable draft near the window: If you can feel air movement near the frame on a windy day, even with the window fully closed, that’s often caused by failed caulking rather than the window itself.
Rising energy bills without another clear cause: Small, consistent air leaks around multiple windows can add up to a real difference in heating and cooling costs.
4. What Type of Caulk Matters More Than You’d Think
Not all caulk is created equal, and the type used has a major impact on how long it lasts.
Acrylic latex caulk is the most affordable and easiest to apply, but it has the shortest lifespan of the common options, often needing replacement within 3 to 5 years in a climate like ours.
Silicone caulk is significantly more flexible and weather-resistant, generally lasting 10 to 20 years when properly applied, and it holds up especially well against UV exposure and temperature swings.
Hybrid polymer sealants combine some of the easy workability of acrylic with the durability of silicone, and are increasingly the go-to choice for professional exterior applications, particularly in areas that deal with the kind of seasonal extremes we get across Toronto.
If your home’s original caulking was done with a basic acrylic product, don’t be surprised if it needs attention sooner than a home caulked with a premium silicone or hybrid sealant. This is one of the most common reasons two neighbouring homes, built around the same time, end up needing re-caulking on completely different timelines.
5. Which Windows Tend to Fail First
Not every window in your home wears out its caulking at the same rate. A few factors consistently determine which windows need attention first:
- South and west-facing windows take the brunt of direct sun exposure and UV degradation, often needing re-caulking sooner than north-facing windows.
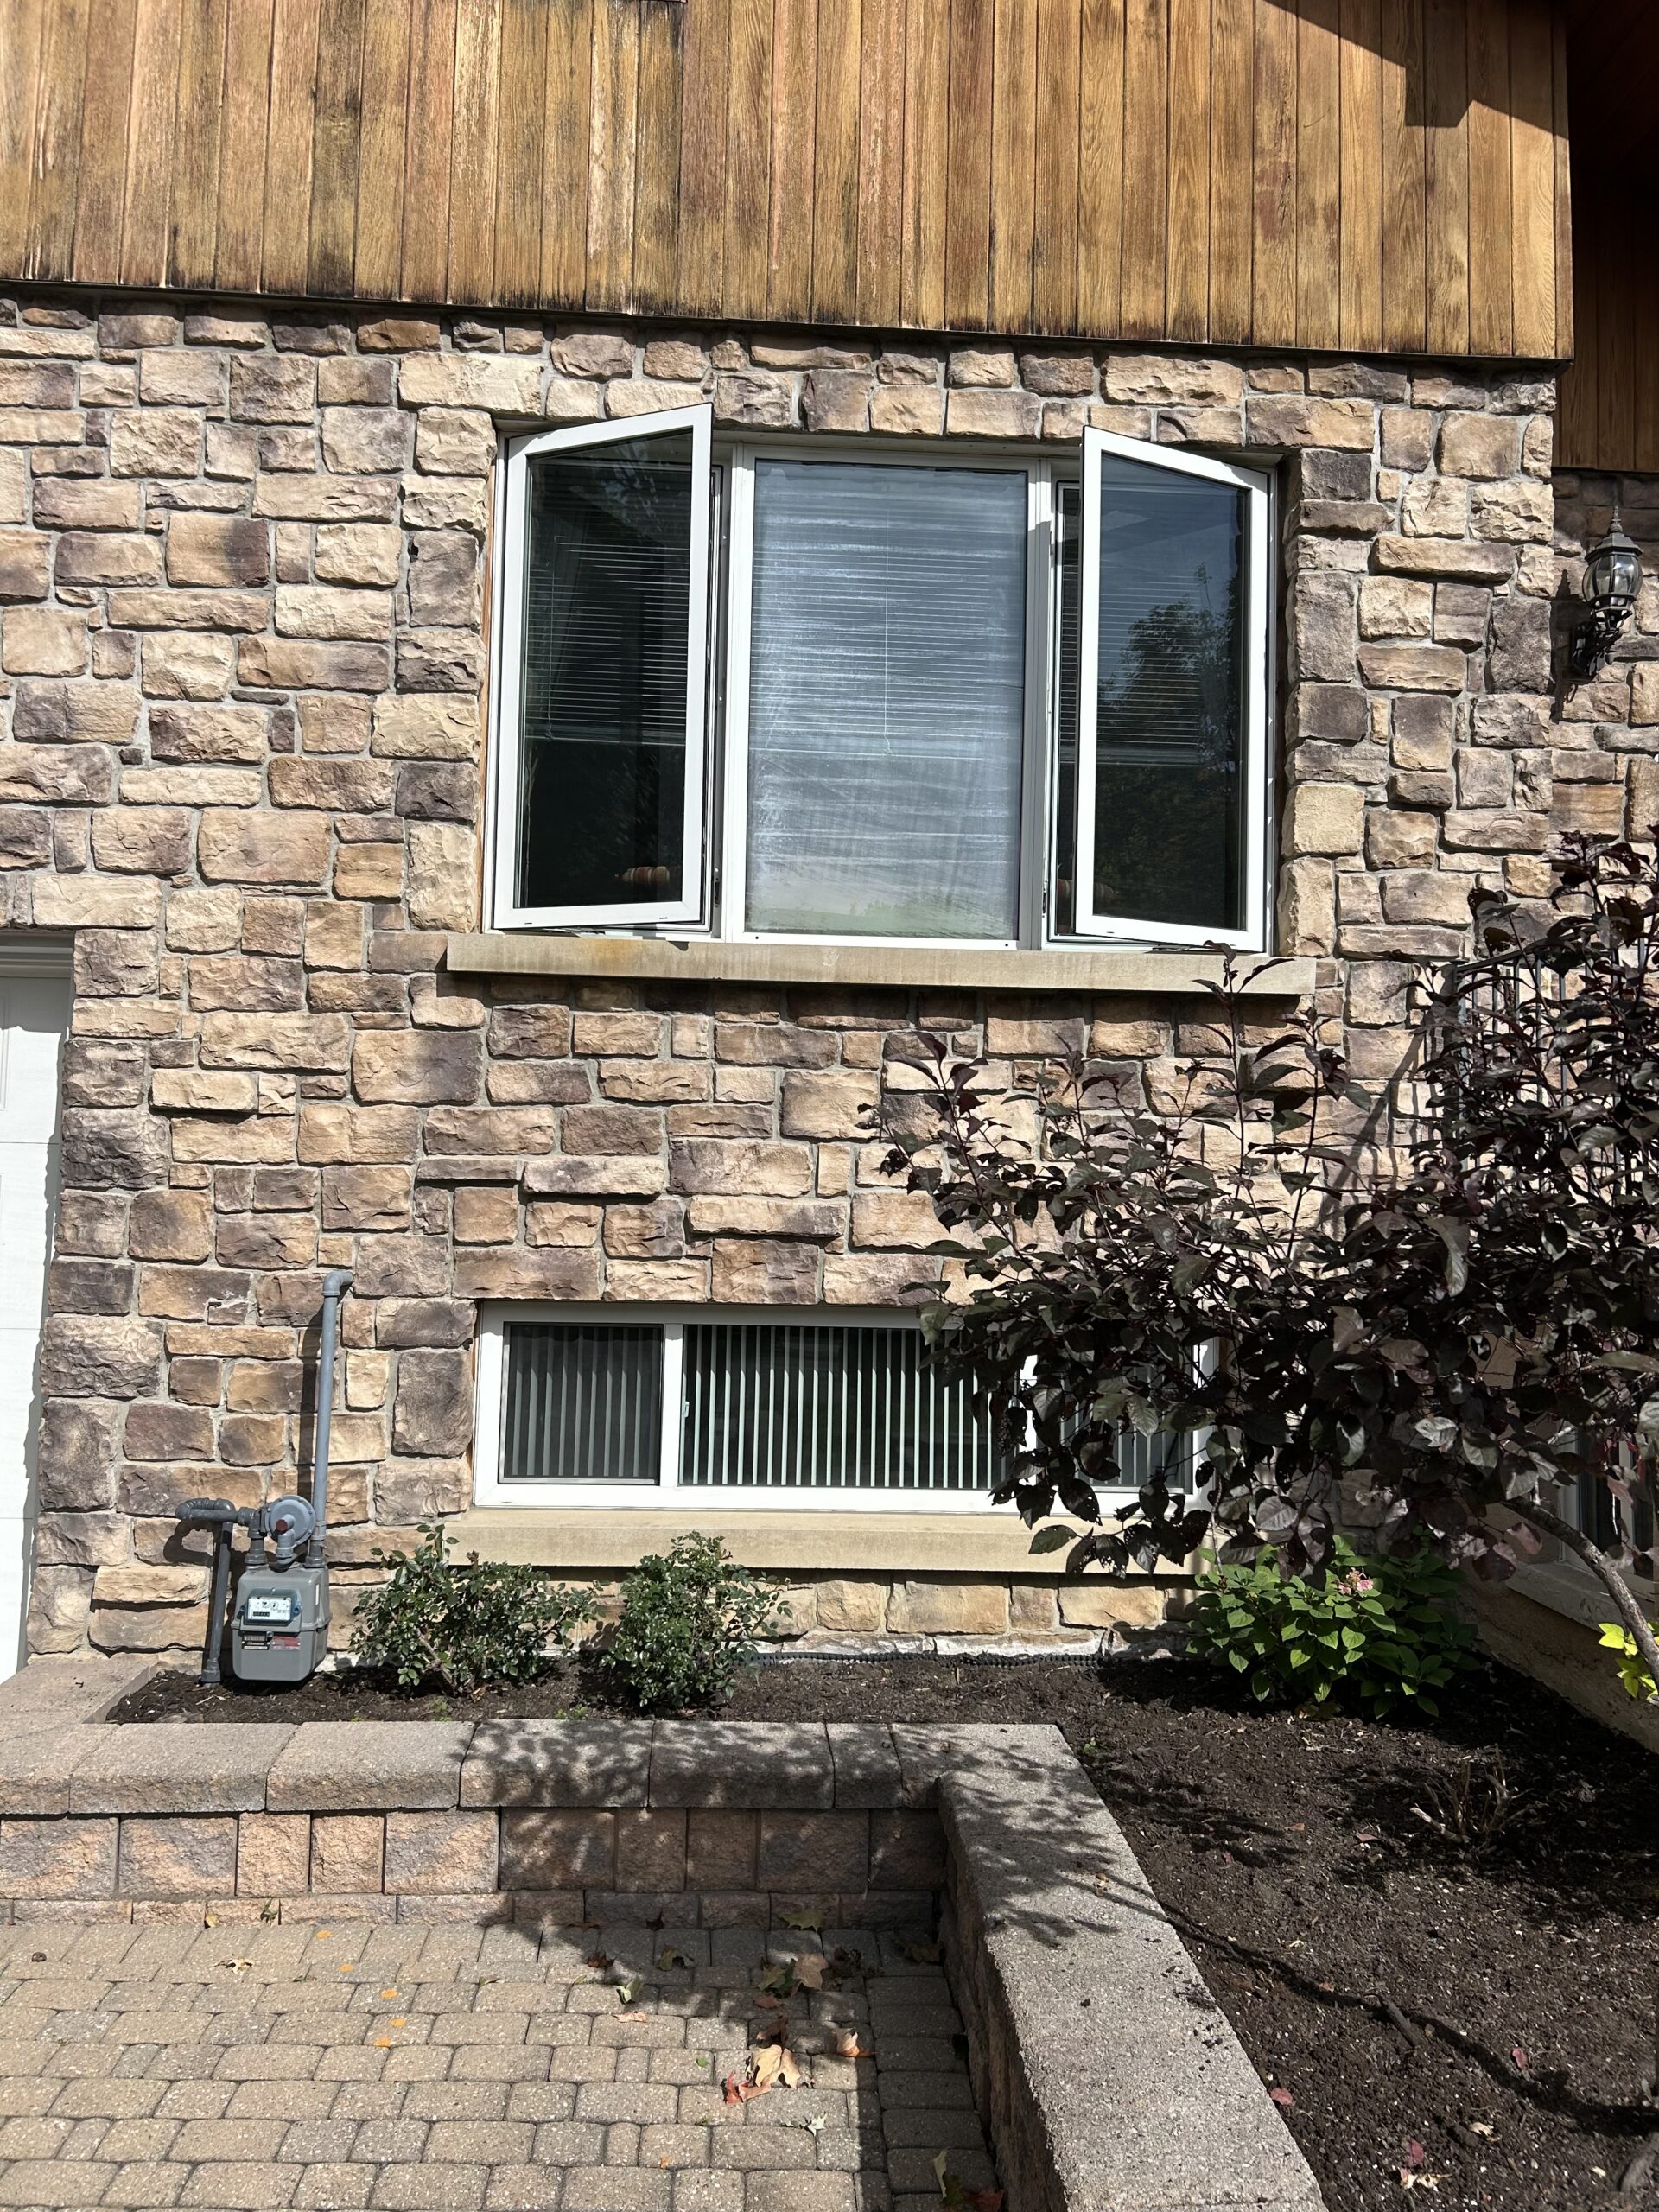
- Windows near ground level deal with more moisture exposure from rain splash-back and snow accumulation.
- Older, single-pane or original-construction windows were often caulked with lower-grade materials that weren’t built to last as long as modern products.
- Windows on the side of the home exposed to prevailing winds experience more constant pressure and movement, which accelerates wear on the caulk seal.
If you’re doing a full home inspection, it’s worth starting with these higher-exposure windows first, since they’re the most likely to already be showing signs of failure.
6. What Happens If You Wait Too Long
Delaying a re-caulking job doesn’t just mean a slightly draftier home. Once caulking fails and moisture starts getting behind the seal, it can lead to more serious and more expensive problems over time.
Water that gets past a failed seal can soak into the wood framing around a window, leading to rot that’s far more costly to repair than the caulking job itself would have been. In more extreme cases, prolonged moisture intrusion can even affect drywall or insulation on the interior side of the wall. What starts as a $150 to $300 re-caulking job can turn into a much larger frame or drywall repair if it’s left unaddressed for too many seasons.
This is really the core reason caulking maintenance is worth staying on top of, even though it’s an easy thing to overlook compared to more visible home maintenance tasks.
7. Is Re-Caulking a DIY-Friendly Project?
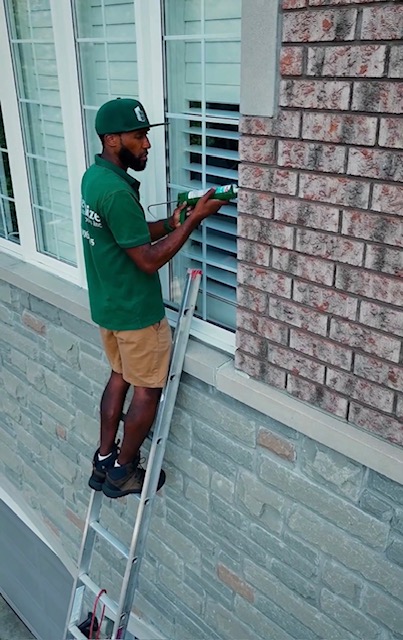
For a single window with a straightforward, accessible bead of caulking, re-caulking can be a reasonable DIY project for a confident homeowner with the right tools and patience. That said, a few things trip people up:
- Fully removing the old caulk before applying new caulk is essential; caulking over failed caulk rarely creates a proper seal.
- Getting a clean, consistent bead takes some practice, and a sloppy application can actually trap moisture rather than keep it out.
- Second-story or hard-to-reach windows introduce safety considerations that make professional service the more practical choice.
- Whole-home re-caulking, especially on older homes with multiple problem areas, is often more efficiently handled as a single professional visit rather than a series of weekend projects.
If you’re weighing whether to tackle it yourself or have it done properly across the whole property, our window and door repair services across the GTA include full re-caulking and weatherproofing assessments, so you’re not left guessing which windows actually need attention.
Key Terms Worth Knowing
Elasticity: A caulk’s ability to stretch and contract along with the surrounding building materials without cracking. This property is what determines how long a sealant will last.
Weep Holes: Small openings, usually along the bottom of a window frame, designed to let moisture drain out. These should never be sealed over during a re-caulking job.
Substrate: The surface the caulk is being applied to, such as vinyl, wood, or aluminum. Different substrates sometimes require different caulk formulations for proper adhesion.
Backer Rod: A foam rod inserted into larger gaps before caulking, used to control the depth of the caulk bead and improve its performance in wider joints.
Curing Time: The period after application during which caulk needs to remain undisturbed and, in many cases, dry, in order to properly set and perform as intended.
Why This Matters More Across Toronto and the GTA
Given the temperature range our region experiences every year, exterior caulking here genuinely works harder than it would in a more temperate climate. That’s not a reason to worry, but it is a reason to stay a bit more proactive about inspections than you might if you lived somewhere with milder winters.
A quick visual check once a year, ideally in early spring after winter has had its full effect, is usually enough to catch problems early before they turn into something more costly.
Why Choose Revitalize Windows & Doors Inc
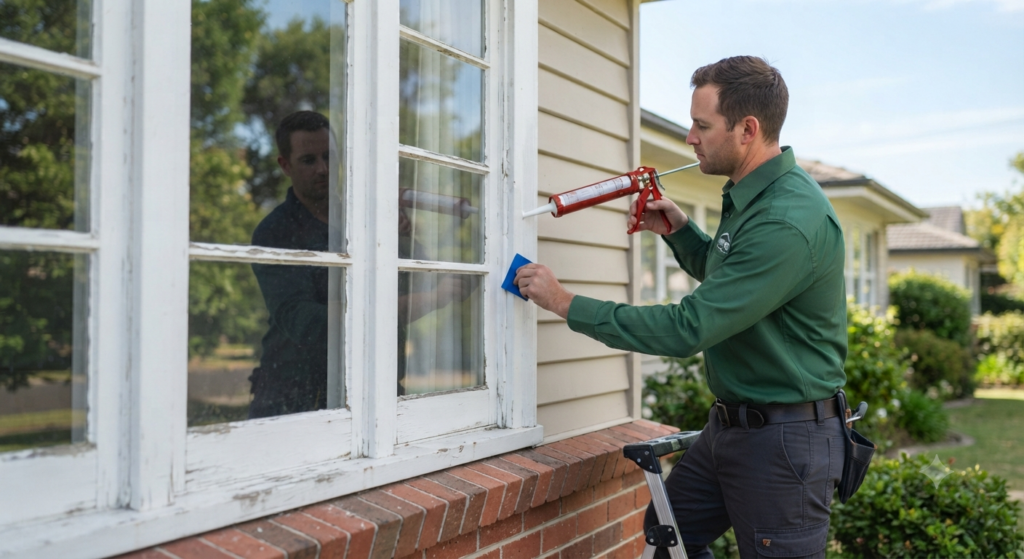
We’ve re-caulked and weatherproofed windows across homes throughout Toronto and the GTA, from older character homes with original wood-framed windows to newer builds where the original construction caulking is starting to reach the end of its lifespan. We use professional-grade silicone and hybrid sealants rather than basic acrylic caulk, and we’re always upfront about which windows actually need attention versus which ones still have a few good years left.
How We Can Help You Today
- Full re-caulking and re-sealing for exterior windows and doors
- Weatherproofing assessments to identify draft sources throughout your home
- Weatherstripping replacement alongside caulking for a complete seal
- Moisture and rot inspection for windows with long-failed caulking
- Whole-home exterior sealing for older properties overdue for maintenance
Frequently Asked Questions
How do I know if my window draft is caused by caulking or the window itself? A quick way to check is to run your hand along the caulk line on a windy day. If you feel air movement specifically at the caulk seam rather than through the glass or sash, it’s likely a caulking issue rather than a problem with the window unit itself.
Can I just add new caulk on top of the old caulk? No, this is one of the most common mistakes in DIY re-caulking. Old caulk needs to be fully removed for the new sealant to properly bond and create an effective seal.
Does the type of window frame affect how often I need to re-caulk? Yes, to some degree. Vinyl and aluminum frames expand and contract differently than wood frames, which can affect how well caulk adheres and how long it lasts on each material.
Is silicone caulk always better than acrylic? For exterior applications in a climate like ours, silicone or hybrid sealants generally outperform acrylic caulk in both flexibility and lifespan, though acrylic can still be appropriate for certain interior or lower-exposure applications.
Will re-caulking actually lower my energy bills? It can help, especially if multiple windows around your home have failing caulk. While one small gap won’t dramatically change your bill, addressing several failed seals throughout the house often leads to a noticeable improvement in comfort and efficiency.
Ready to Get Your Windows Properly Sealed?
If it’s been a while since your windows were last caulked, or you’re noticing drafts, cracking, or gaps around the frames, we’re happy to take a look and let you know exactly what’s needed. Contact us directly to request your free quote, and we’ll help keep your home properly sealed through every season.