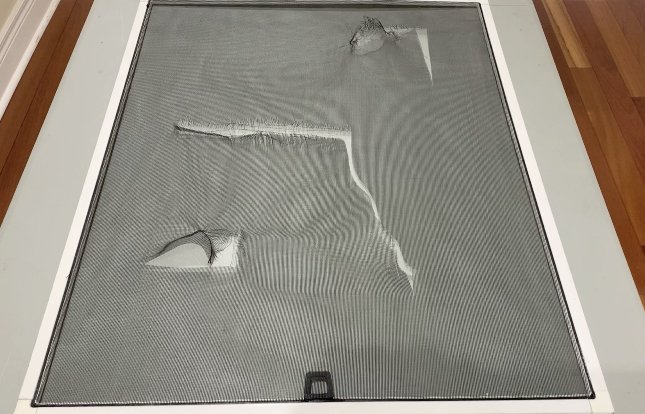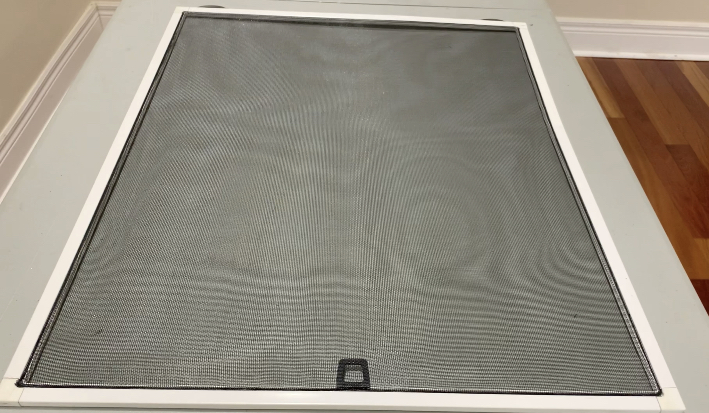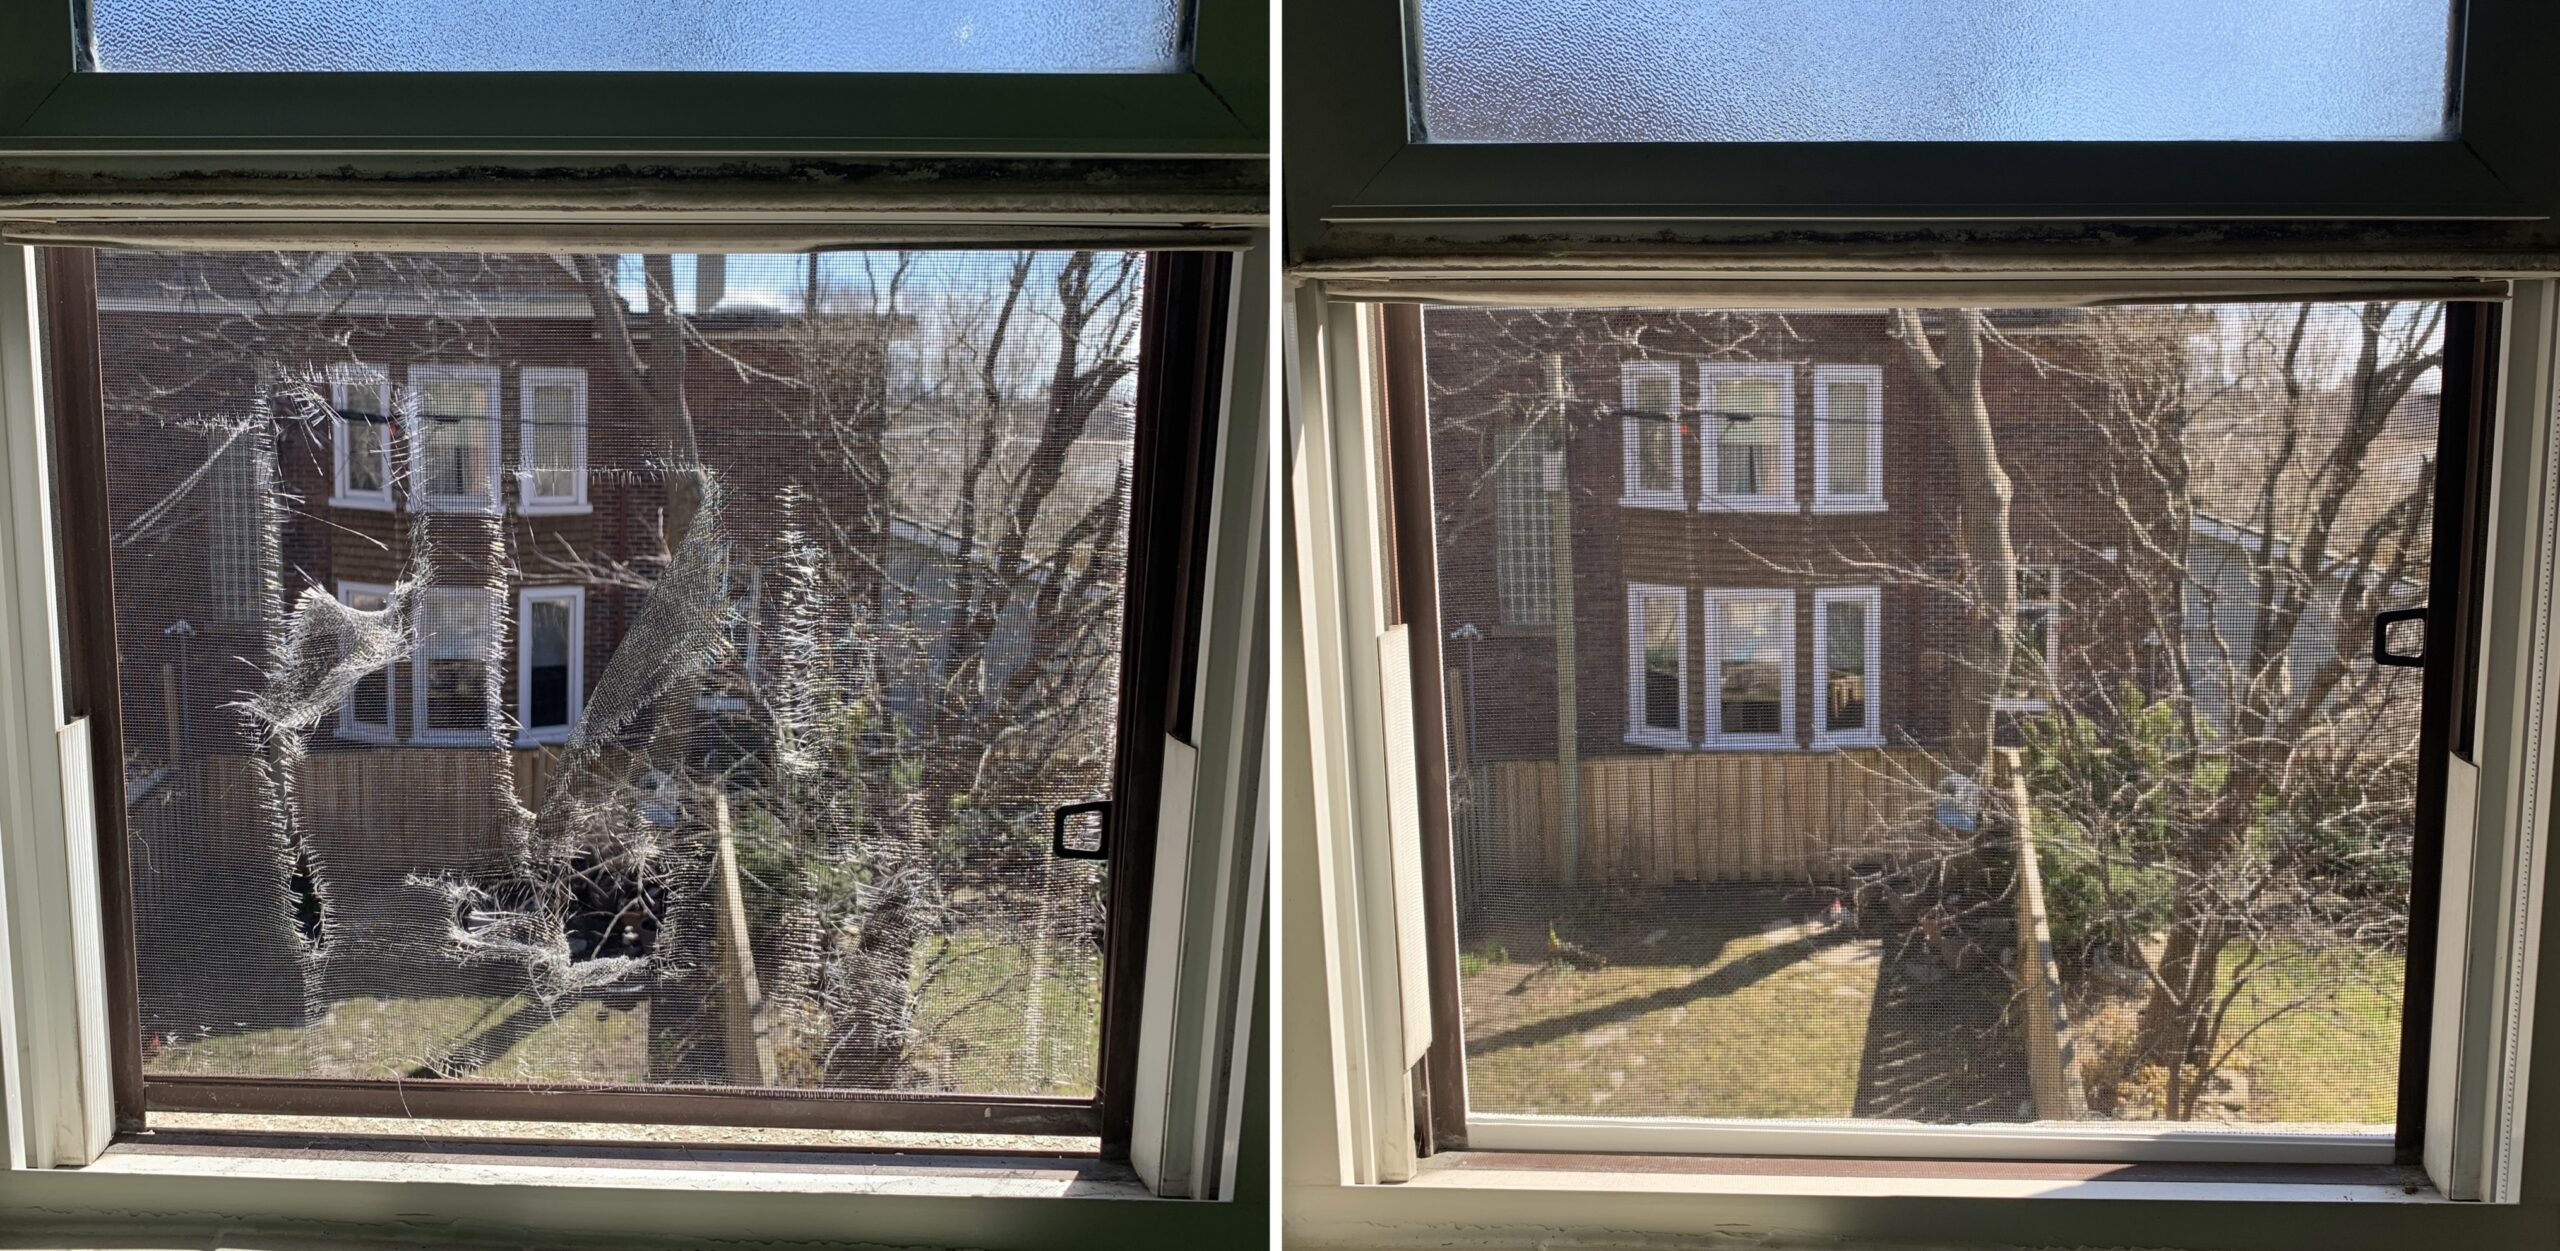
No one wants to spend their summer covered in mosquito bites, which is why it’s so important that all your window screens are in tip-top shape. If you’ve noticed bugs or debris making their way inside your home, it’s a good idea to check for holes or cuts in your window screen. Use this step-by-step guide to learn how to repair a torn window screen.
Materials and Tools:
- Flat head screwdriver
- Scissors
- Spline roller
- Utility knife
- Replacement screen
- Screen repair kit (optional)
- Spline
Prepping to Replace a Window Screen
Before you learn how to repair window screens in your home, make sure you know what kind of material your window screen is made out of (or what kind you’d like to replace it with). Most likely, your screen is made out of fiberglass, which is the most popular material. Other options include aluminum and sun-shading fabric.
You should also measure the window frame to ensure you buy the correct-sized replacement screen. Any screen material 36 inches or taller should have a center support to prevent bowing. Finally, you don’t want to let any critters inside your home while you tackle this DIY project, so close the window in question after you remove your screen.
Step 1: Remove the Window Screen
Before you can start the process of replacing the screen mesh, you’ll have to
remove the screen from the window. Grab the tabs on the screen and pull them both toward you and toward the center of the screen. Some screens have pins or latches, whichever yours has make sure to disengage it before attempting to remove the screen.Tilt or pivot the screen so it is easier to remove from the frame. Once the screen is free of the frame, carefully set it aside.
Step 2: Remove the Spline
Place the frame on a flat, secure surface. Locate the spline-a plastic cord-like piece that runs around the perimeter of the window’s frame-and then gently lift it out of all four sides of the frame using a flathead screwdriver. If it looks to be in good condition, you can reuse it after replacing the screen. If it looks brittle, you’ll need to replace it. Set it aside to bring to a hardware store to ensure you buy a new one that’s the same size.
Once the spline is out, your damaged screen mesh should easily release from the frame. You can either throw the screen away or repurpose it for another DIY.
Step 3: Roll Out the New Screen
Unfurl the new screen material over the frame. Cut the mesh to fit the frame so that most of the excess is out of your way, leaving only about 2 or 3 inches extra on each side of the frame. Using scissors, cut off the corners of the screen material a little above the window frame’s channel so that the screen doesn’t scrunch up in the corners of the frame.
Step 4: Secure the Screen
Using a spline roller, press the screen mesh into the channel of the frame’s perimeter. Then, secure it in place by then pressing the new spline into the channel over the mesh. Do this step one side at a time, starting with the longest two sides.
Step 5: Trim the Excess
Cut away any excess screen material with a utility knife. Angle the knife toward the outside of the frame, and cut as close to the spline as you can, being careful not to damage the spline in the process. Position your new screen in your window frame and tell the mosquitos outside to buzz off.

Conclusion
Repairing a window screen is a relatively easy DIY project. However some homeowners might find it too big of a project to take on. In that case you can contact us here at Revitalize Windows & Doors and we’ll be happy to assist you with your window screen repair. Servicing Toronto, Mississauga, Brampton, Vaughan, Woodbridge, Markham, Richmond Hill and surrounding regions, we’re your go to window and door repair specialist. Check out our video here on how to rescreen your window screen frames.

Services
Custom Window Screen Frames
- Window Screen Mesh Repair
- Custom Window Screen Frame Replacement
Contact Us
Toronto, Ontario
Tel: (416) 906-4395
Email: revitalizewindowsanddoors@gmail.com
Schedule An Appointment Here
www.revitalizewindowsanddoors.com

