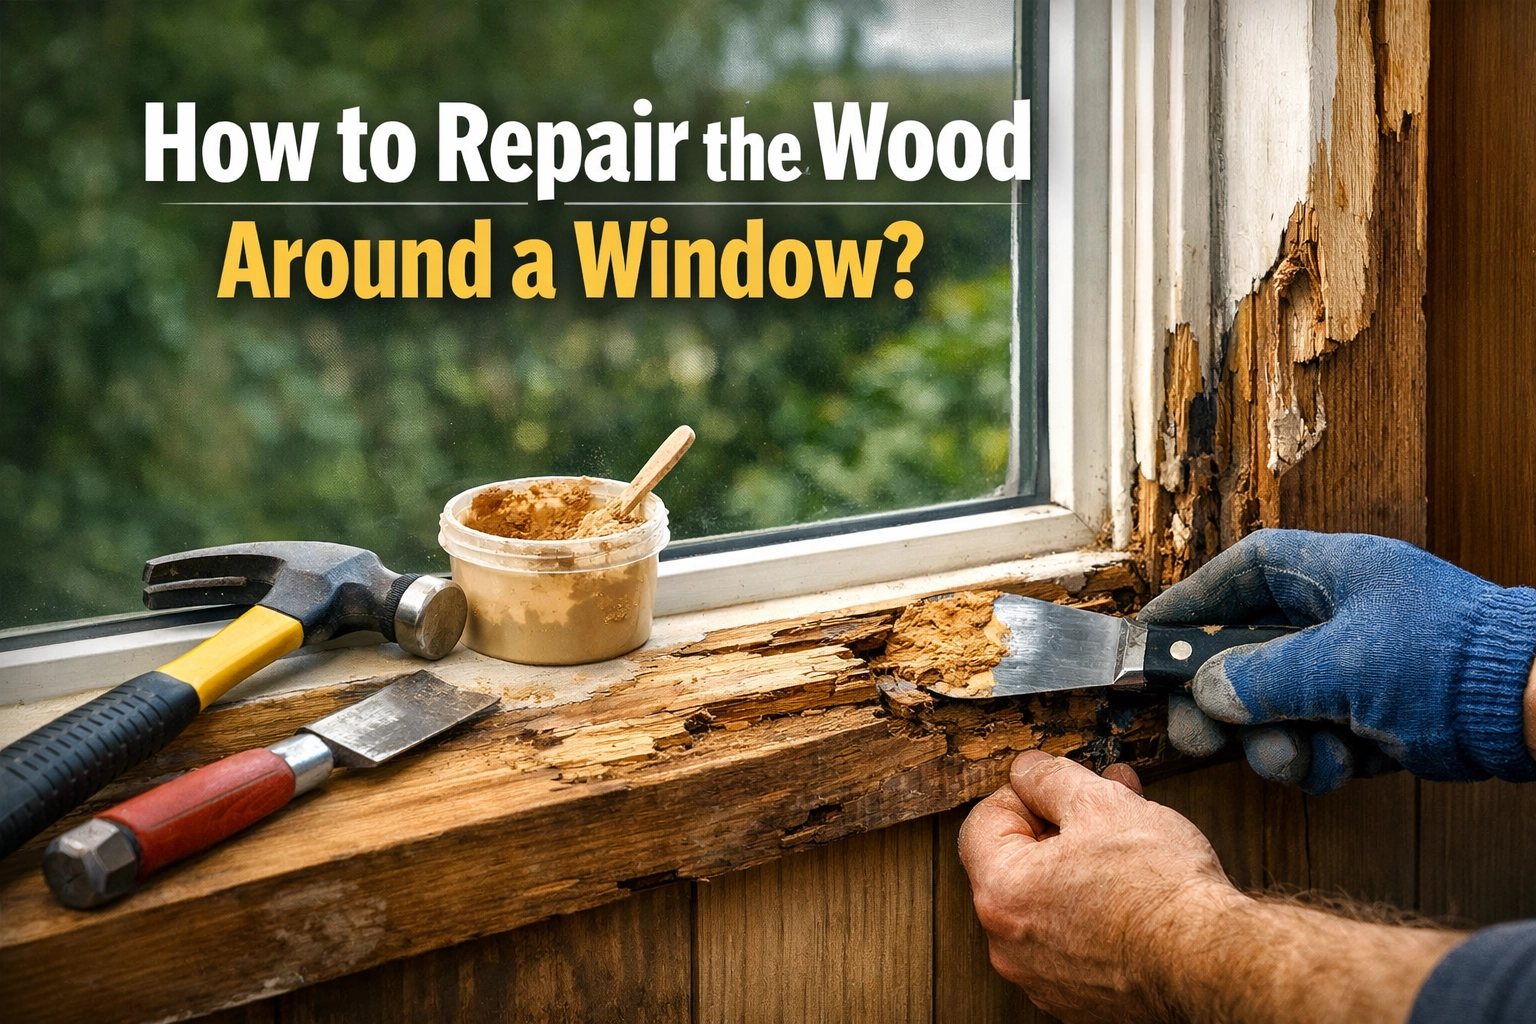
Wood windows offer a classic, magnificent aesthetic that many modern materials simply cannot replicate. However, for homeowners in Toronto and the GTA, the beauty of natural wood comes with the responsibility of maintenance. Our region’s dramatic weather shifts: from humid summers to freezing, snowy winters: can lead to wood rot and frame damage if left unchecked.
Repairing the wood around a window is a specialized task that involves removing decayed material, stabilizing the remaining structure, and sealing the unit against future moisture. Whether you are dealing with a soft window sill or a crumbling brickmold (the exterior wood trim that covers the gap between the window frame and the house siding), taking action early can save you from an expensive full-scale replacement.
The following is a list of steps and professional tips to help you navigate the repair process and restore the structural integrity of your home.
1. Assessing the Damage: The "Screwdriver Test"
Before you pick up a hammer, you need to know exactly what you’re up against. In Toronto and the GTA, moisture often gets trapped behind peeling paint or under the window sill (the horizontal bottom piece of the frame).
We recommend performing a "screwdriver test." Take a flat-head screwdriver or a utility knife and gently probe any areas where the paint is bubbling, cracked, or discolored. If the wood feels sturdy and resists the tool, you likely only have surface-level paint issues. However, if the screwdriver sinks into the wood like it’s hitting soft butter, you have wood rot.
Pay close attention to the joints where the vertical and horizontal pieces of the frame meet. These corners are the most common failure points because water tends to pool there.
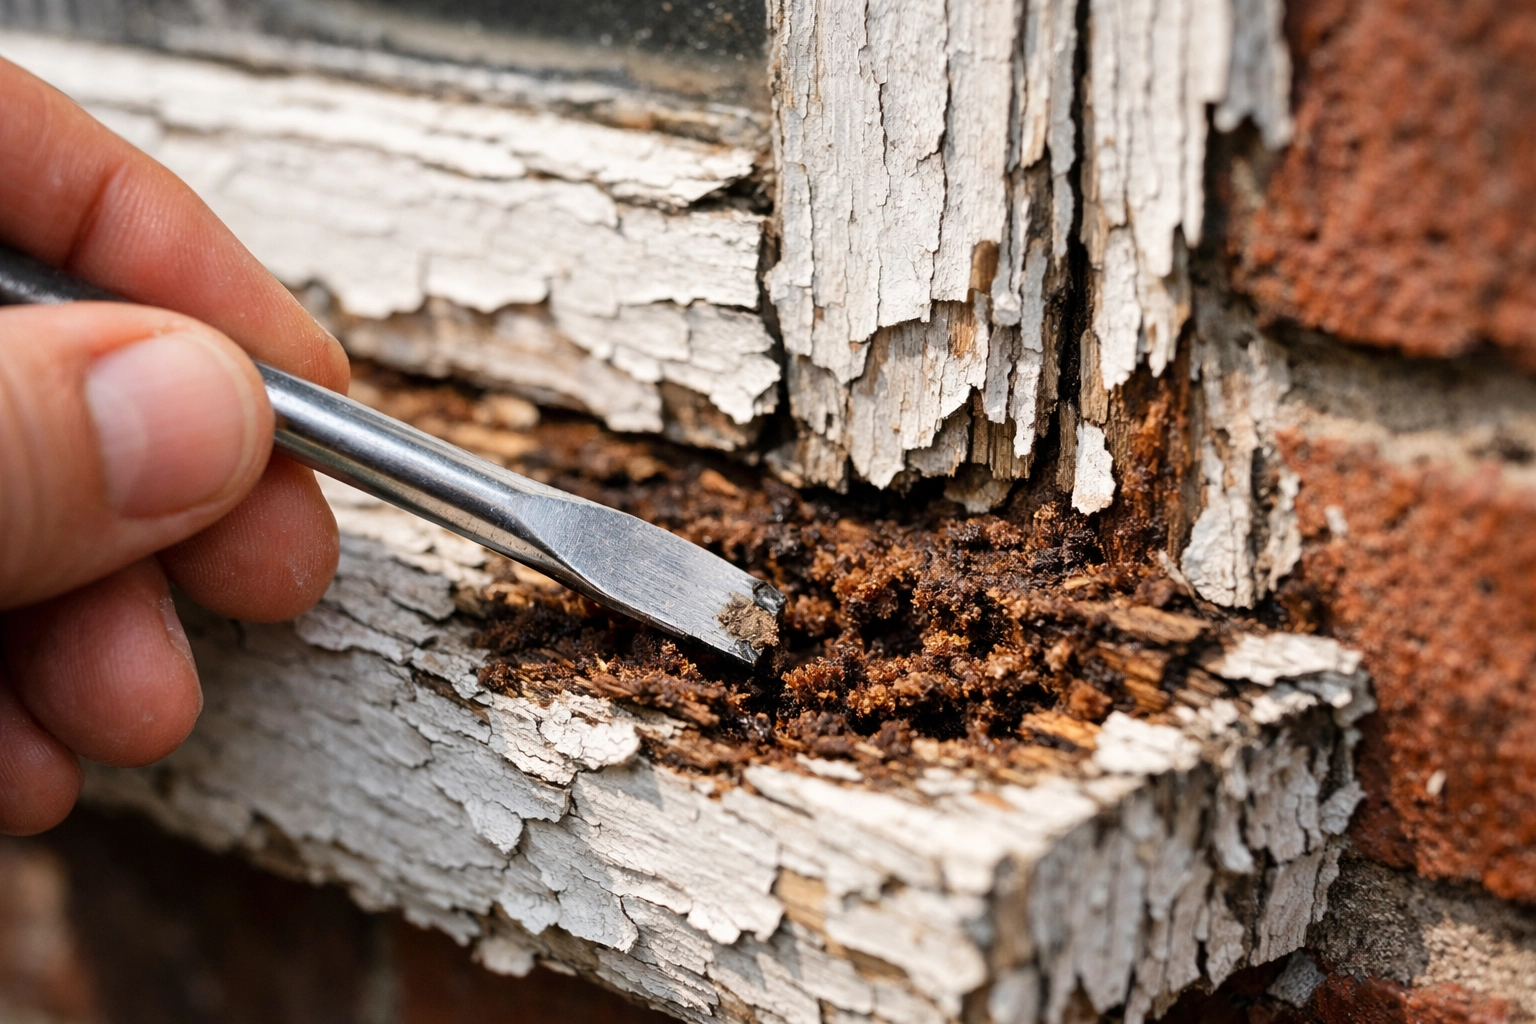
2. Removing the Rotted Wood
Once you’ve identified the soft spots, the next step is "surgery." You cannot simply fill rot with putty and hope for the best; rot is a fungus, and if you don’t remove it entirely, it will continue to eat away at your window from the inside out.
Using a wood chisel and a hammer, carefully scrape away all the soft, pulpy wood. You should continue excavating until you reach wood that is light in color, dry, and firm. If the damage is extensive, a rotary tool with a grinding bit can help you clean out tight corners.
It is important to wear safety gear during this phase. If your home in Toronto and the GTA was built before the mid-1970s, there is a possibility of lead-based paint. Always wear a high-quality dust mask and eye protection, and ensure you are properly containing any debris.
3. Treating and Stabilizing the Remaining Wood
After removing the rot, you are often left with a jagged cavity. Before filling this hole, you must treat the surrounding healthy wood to ensure the rot doesn't return and to create a solid foundation for the repair.
We use a product called a wood consolidant or stabilizer. This is a thin, liquid resin that soaks deep into the wood fibers. It acts as a hardener, turning any slightly weakened wood into a rock-solid base.
- Brush the consolidant onto the bare wood.
- Let it soak in for several minutes.
- Apply a second coat if the wood absorbs the first one quickly.
- Allow it to cure fully according to the manufacturer’s instructions.
This step is crucial for maintaining the structural integrity of the window, especially if the damage is near the hinges or the casement sash (the moving part of the window).
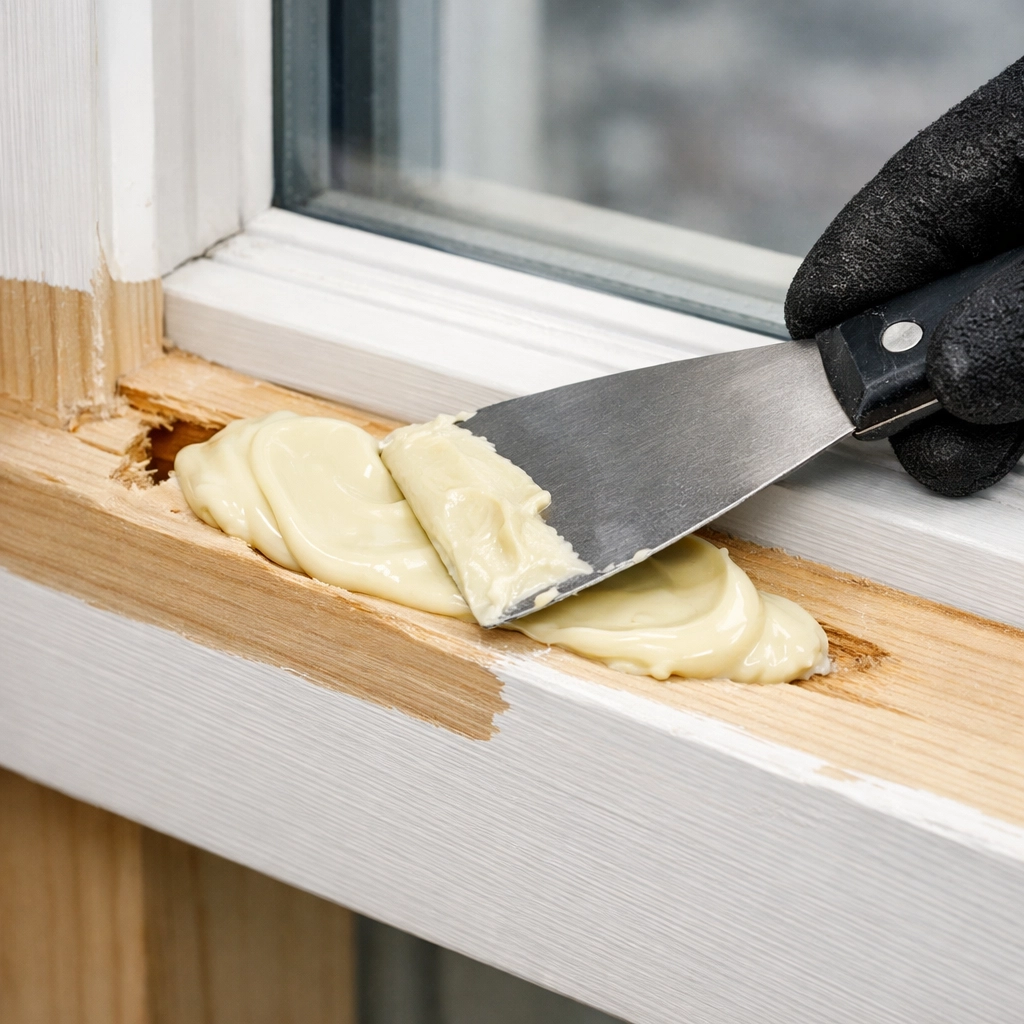
4. Filling the Cavity: Epoxy vs. Dutchman Repairs
Depending on the size of the hole, you have two primary options for the repair.
Option A: Two-Part Epoxy Filler
For small to medium-sized holes, a two-part exterior-grade epoxy is the best solution. Unlike standard wood putty, epoxy doesn't shrink, and it bonds chemically to the wood.
- Mixing: Mix the resin and hardener on a scrap piece of cardboard.
- Application: Press the epoxy firmly into the cavity using a putty knife. Build it up slightly higher than the surrounding wood surface, as you will sand it down later.
- Shaping: You can use your putty knife to mimic the original profile of the wood trim.
Option B: The "Dutchman" Repair
If a large section of the window sill or frame is missing, epoxy might not be enough. In these cases, we perform a "Dutchman" repair. This involves cutting out a clean, rectangular section of the damaged wood and gluing in a matching piece of new, kiln-dried wood.
- Secure the new piece with waterproof exterior glue and stainless steel screws.
- Use a small amount of epoxy to fill the tiny seams between the old wood and the new patch.
This method is exceptionally stable and is often preferred for historic homes across Toronto and the GTA where preserving the original wood species is important.
5. Sanding for a Seamless Finish
Once your epoxy or wood patch has cured (usually 2 to 24 hours depending on the product), it’s time to sand. Start with a coarse 80-grit sandpaper to level the repair with the original wood. Once it is flush, switch to a finer 120-grit sandpaper to smooth out the texture.
The goal is to make the transition between the repair and the original wood invisible. When you run your hand over the area, you shouldn't feel any bumps or ridges. If you find small pinholes in the epoxy, you can apply a thin layer of fine-surface wood filler, let it dry, and sand it one last time.
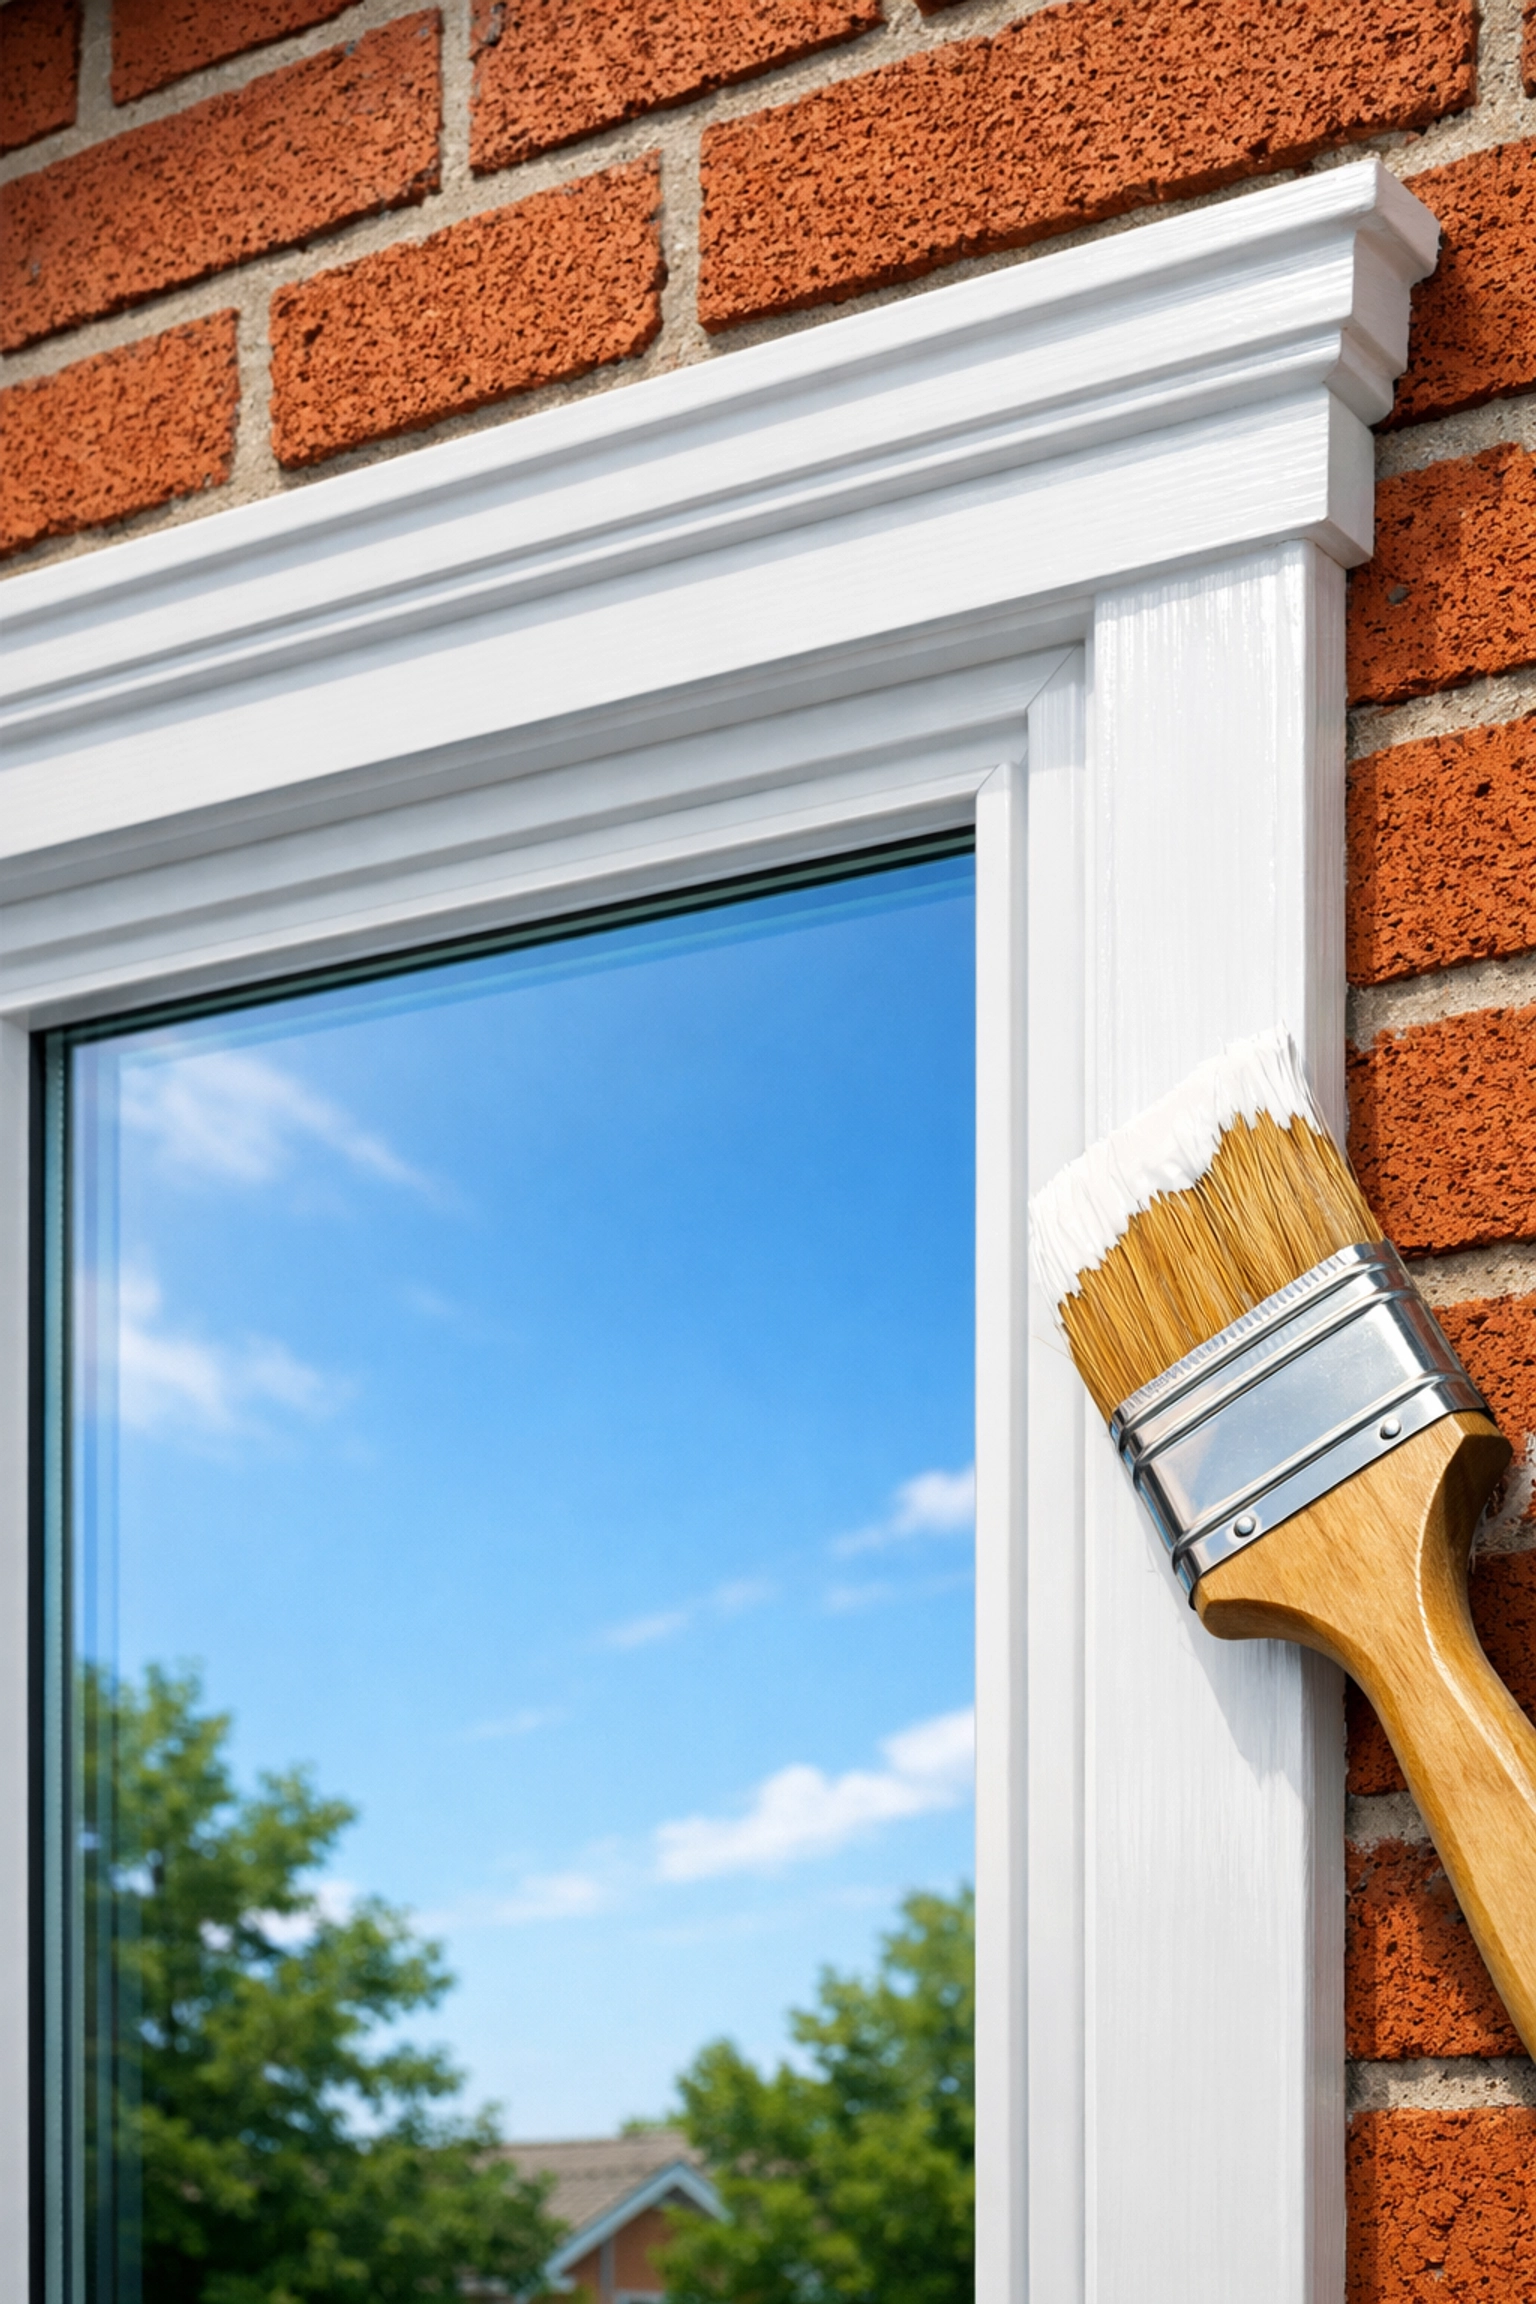
6. Priming and Painting: The Weatherproofing Shield
In our local climate, the finish is what actually protects your window. Bare wood or epoxy will degrade quickly if exposed to the sun and rain.
- Clean the area: Remove all dust with a tack cloth or a damp rag.
- Apply Primer: Use a high-quality, oil-based exterior primer. Oil-based primers are superior for older wood because they seal the grain and prevent tannins from bleeding through the paint.
- Paint: Apply at least two coats of high-quality exterior latex or oil-based paint. Ensure you "lap" the paint slightly onto the glass (about 1/16th of an inch) to create a watertight seal that prevents rain from getting behind the putty or the wood beads.
For those looking to go the extra mile, checking your weatherproofing at this stage is a smart move. Ensuring that the caulking around the exterior of the frame is intact will prevent moisture from getting back into the wood you just worked so hard to fix.
Preventative Maintenance for Toronto and the GTA Homeowners
Repairing wood is satisfying, but preventing rot is even better. We’ll go over some of the most common ways to keep your windows in top shape:
- Clear the Gutters: Overfull gutters often overflow, sending a sheet of water directly onto your window frames.
- Inspect Caulking Yearly: If you see gaps where the window meets the bricks, moisture is getting in.
- Maintain the Paint: As soon as you see paint flaking or cracking, sand and touch it up. Don't wait for the wood to turn grey.
- Check the Sills: Ensure the window sills have a slight downward slope so water runs off rather than sitting in place.
When to Call a Professional
While many wood repairs are DIY-friendly, some situations require an expert touch. If the rot has spread into the structural studs of your home, or if the window frame has warped so much that the glass is cracking, it is time to seek professional help.
At Revitalize Windows & Doors Inc, we specialize in identifying these complex issues before they lead to structural failure. Our team understands the specific architectural styles found in Toronto and the GTA, ensuring that our repairs are not only functional but also aesthetically correct.
Whether you need a simple sill repair, hardware replacement, or a complete patio door overhaul, we are here to help. We pride ourselves on providing sturdy, reinforced solutions that stand up to the Canadian climate.
If you’re worried about the state of your window frames and want an expert assessment, contact us directly to schedule an inspection.
Our specialized services include:
- Rotten wood frame and sill repair.
- Glass replacement and thermal seal restoration.
- Hinge, crank, and lever handle repairs.
- Weatherstripping and professional caulking.
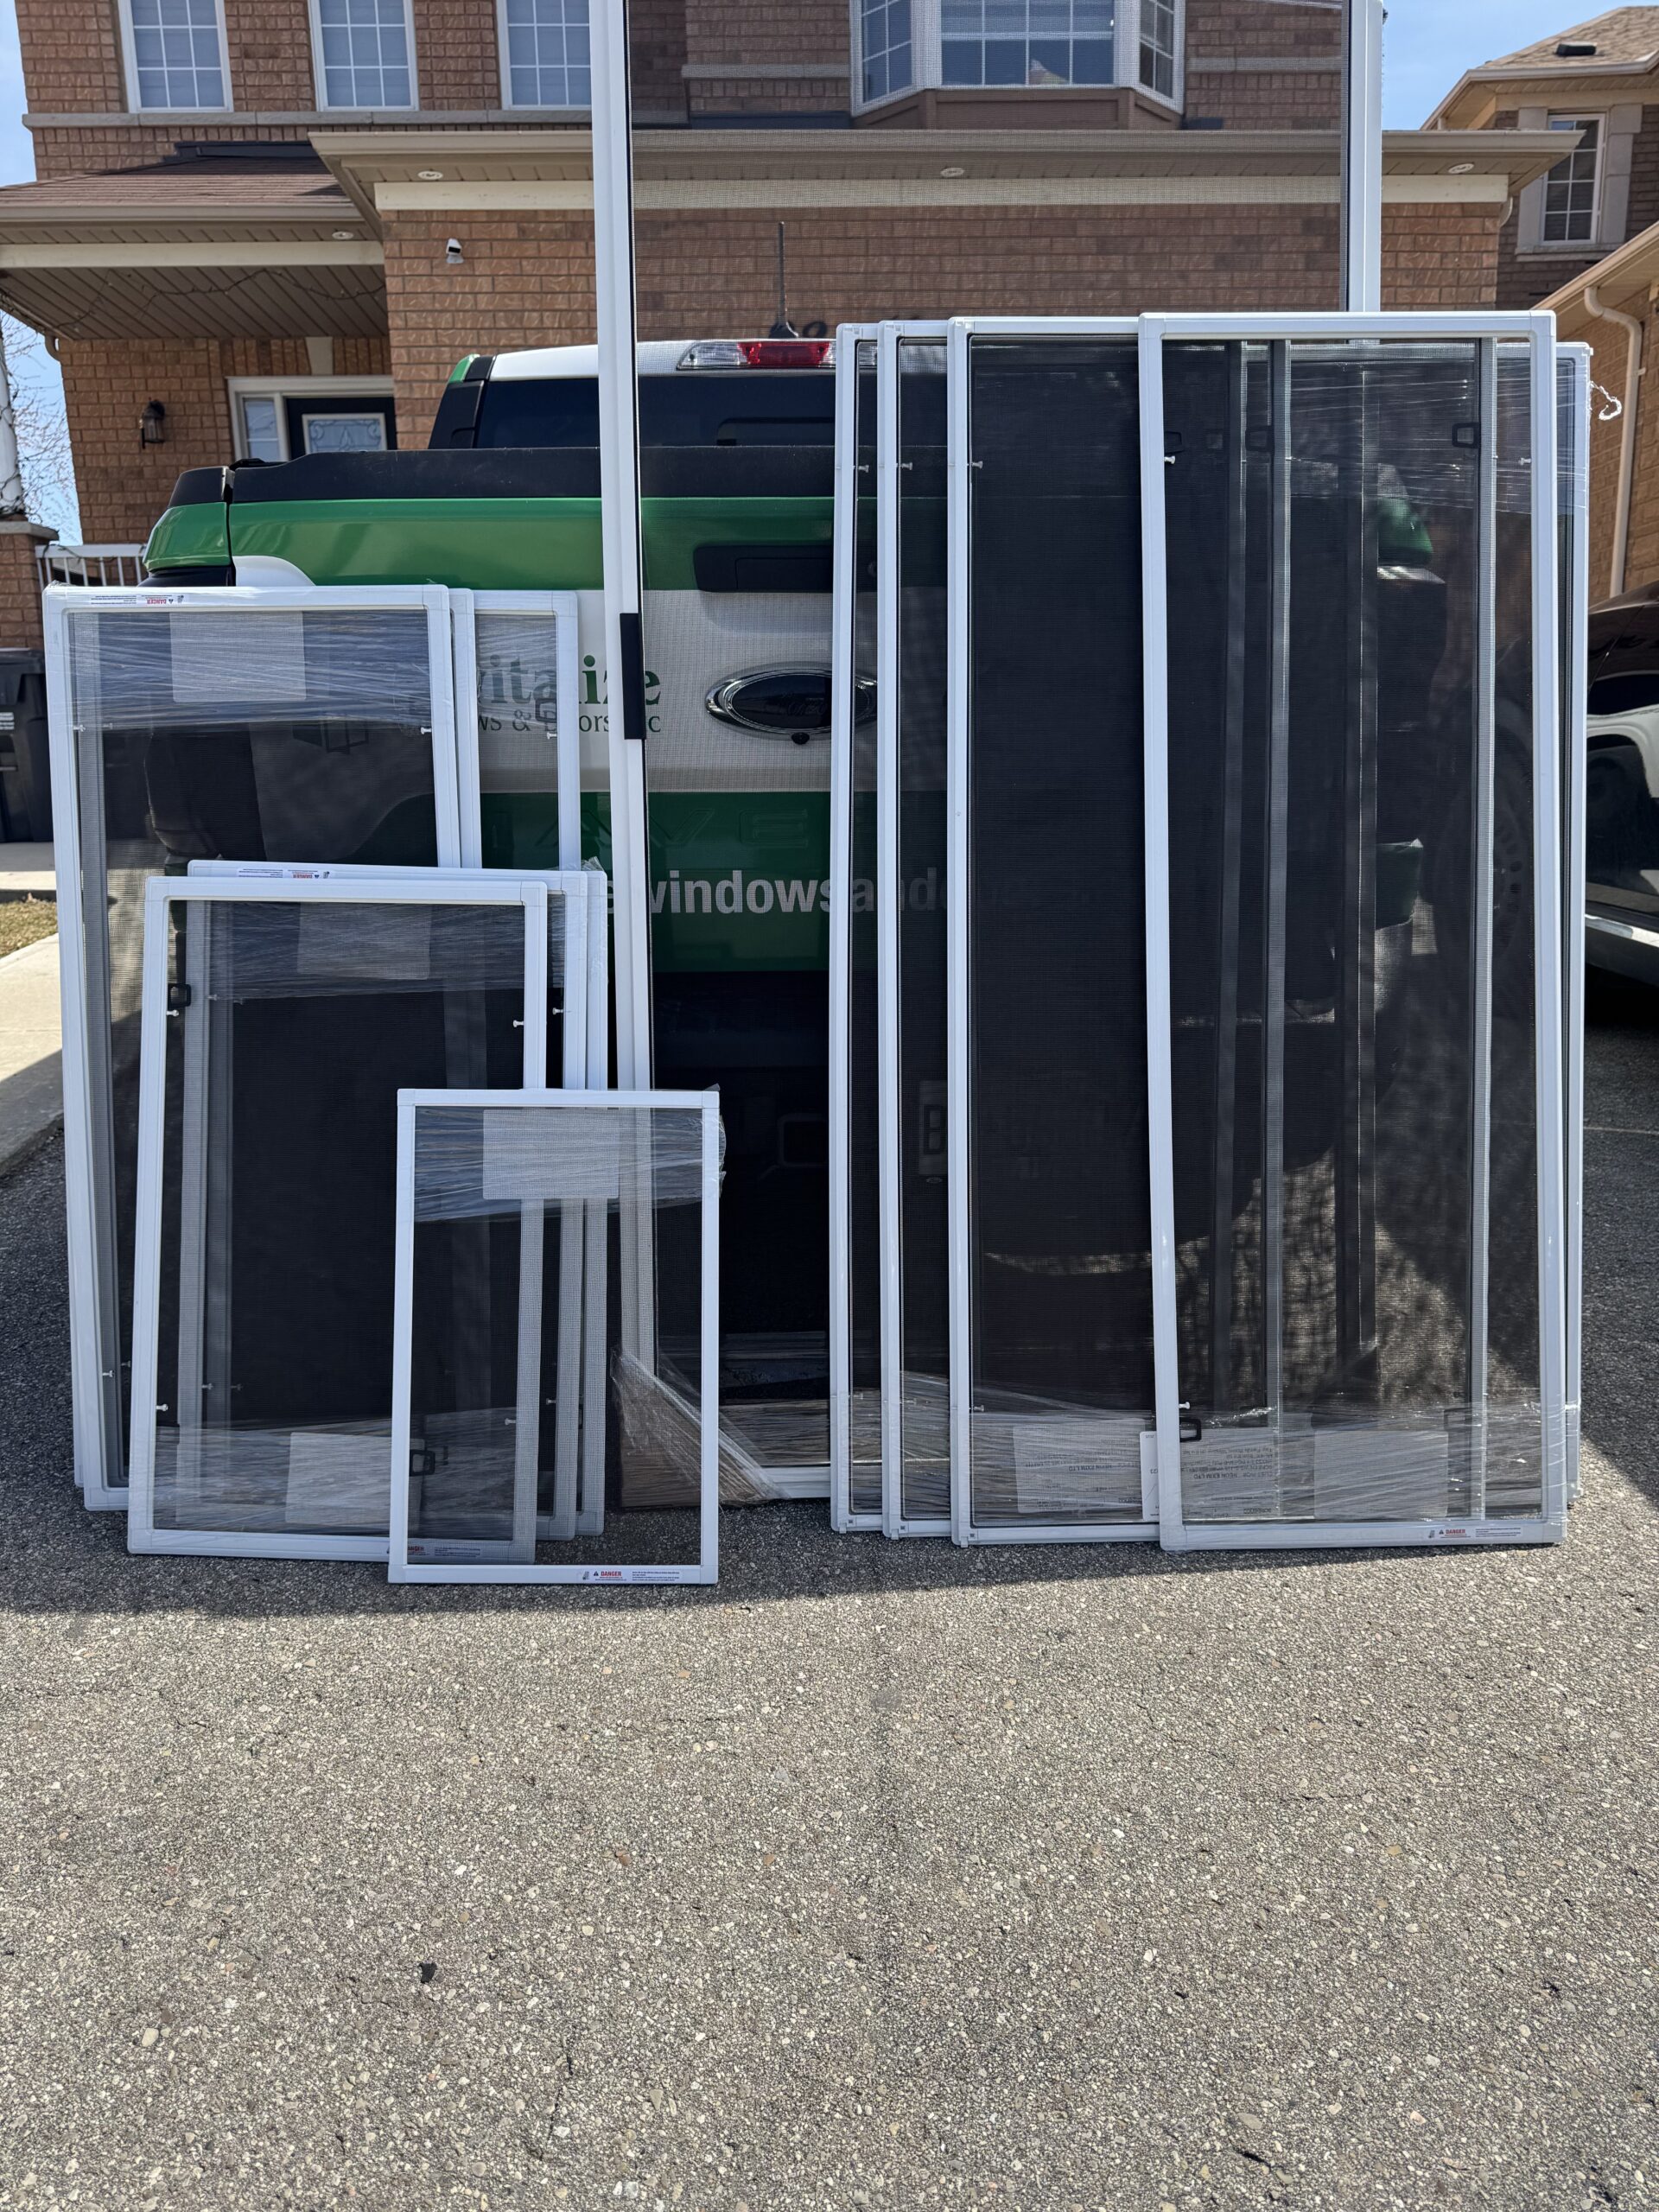
- Screen repairs and custom screen door installations.
See our work: https://revitalizewindowsanddoors.com/socials/